|
|
 03-03-2011, 04:06 PM
|
#61 |
|
Guest
Posts: n/a
|
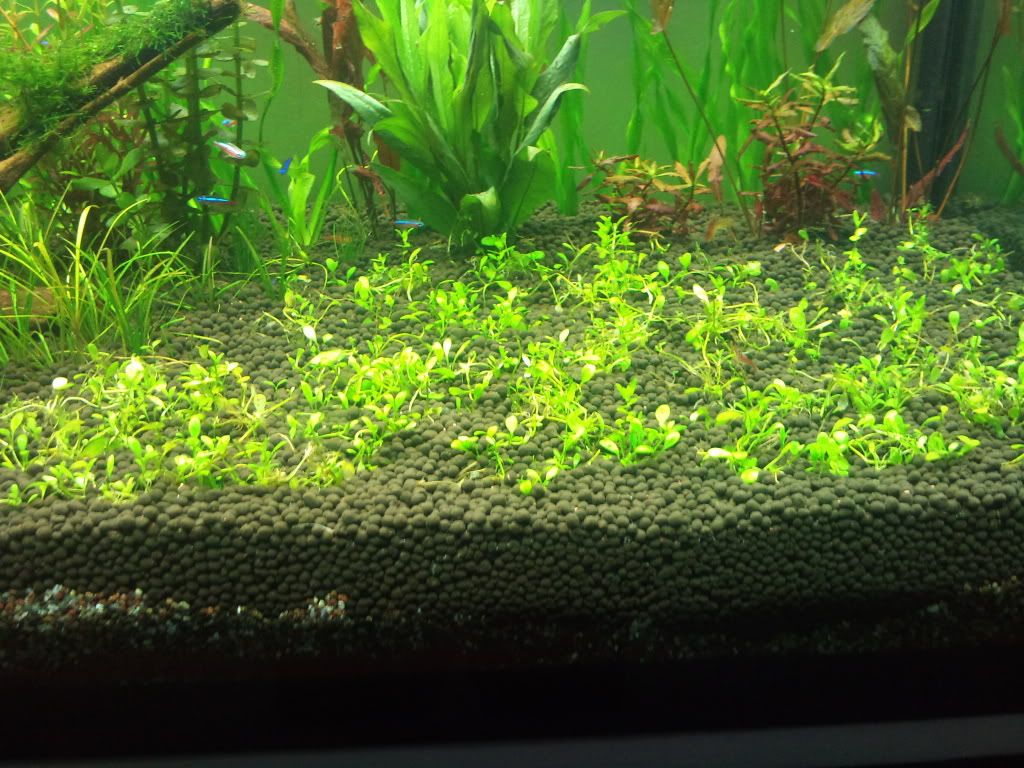
My Glosso starting to start a little but some are still going sky high.
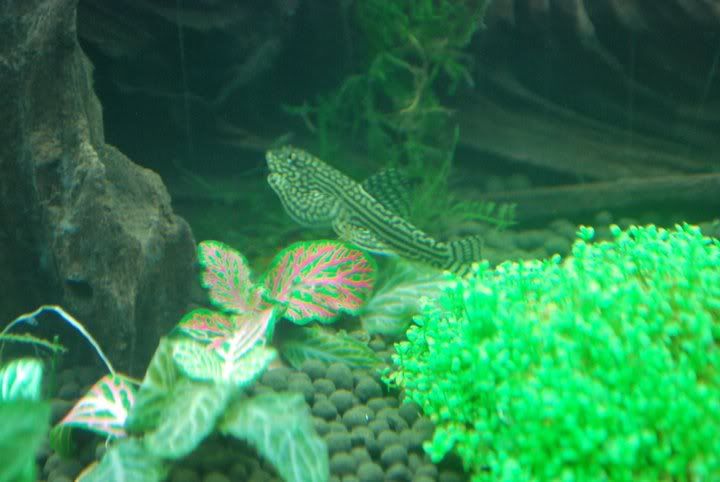 Dunno what's this called but some have grown slightly too long for my pleasure...think time to trim some off... 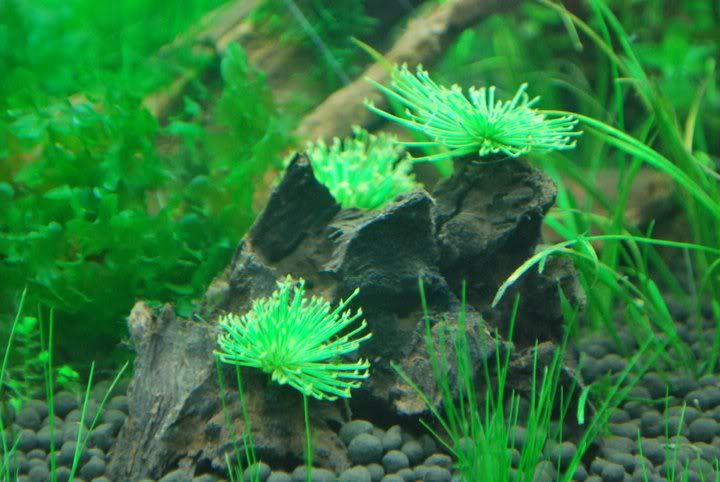 My full tank view after about 2 weeks of planting.... 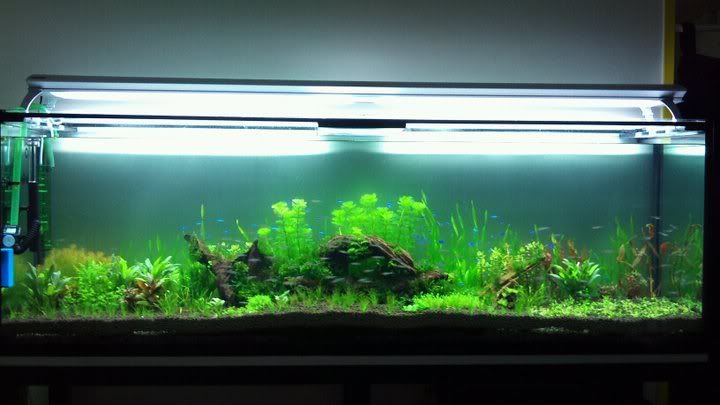 So-far so good....have done some triming for plants that have grown too tall... |

|
|
03-03-2011, 04:07 PM
|
#62 |
|
Guest
Posts: n/a
|
 Glosso should be this pic....pai say.... |
|
|
|
03-03-2011, 04:12 PM
|
#63 |
|
Guest
Posts: n/a
|
Just to share.
I went to this shop Boon Keng to collect the chiller from Bro Eddie. The shop is full of plants and are very very beautiful....very green and bright. The owner "Ah Tan" or Mr Tan is very friendly and taught me alot tips of growing water plant. If got time can go down to have a look and u will sure be amazed by this two 6 feet tank. The plants are very nice but dun come cheap... 
|
|
|
|
04-03-2011, 11:22 AM
|
#64 | |
 Administrator
  Join Date: Sep 2000
Posts: 1,421
|
Quote:
The shop you are referring to is commonly known as "Bioplast" and they have very nice displays and plants indeed! |
|

|
|
|
04-03-2011, 07:22 PM
|
#65 |
|
Guest
Posts: n/a
|
bro I must say that u are a very brave man, haha I wouldn't have the courage to start my first planted tank on a 6 ft.
I started my first ever planted tank (only 2 ft) 4 mths ago, and planting glosso was a very painful process! I also find it a challenge to keep the glosso short and close to the soil, always have some growing long and ugly. I just rescaped my tank today and replaced my glosso with dwarfed hairgrass. Anyway your boldness and effort is inspiring, thanks for sharing and keeping us updated! (Meanwhile I'll also work hard on my two tiny 2 ft tanks) |
|
|
|
04-03-2011, 11:29 PM
|
#66 | |
|
Guest
Posts: n/a
|
Quote:
I was inspired by the plants done yup by Tan....next project want to do up a "tree" to put on the right side of my tank...  Hope it will work out.... Hope it will work out....
|
|
|
|
|
04-03-2011, 11:40 PM
|
#67 | ||
|
Guest
Posts: n/a
|
Quote:
Quote:
Actually I was told smaller tank are harder to maintain.... Share your tanks photo too......It's always nice to see others tank and steal some ideas for scaping....
|
||
|
|
|
05-03-2011, 12:57 AM
|
#68 | |
|
Dragon
 Join Date: May 2004
Posts: 1,319
|
Quote:
 bought my first tank and chiller from him. Bro Alvloh, just curious how you disperse the CO2 in such a big tank? |
|
|
|
|
|
05-03-2011, 01:24 AM
|
#69 | |
|
Guest
Posts: n/a
|
Quote:
As for the CO2, I'm using a diffuser that is connected canister outflow.... I've noticed the CO2 does float to the end of the tank. Thus my glosso is able to generate O2 bubbles... |
|
|
|
|
05-03-2011, 02:35 AM
|
#70 |
|
Dragon
Join Date: Mar 2011
Posts: 1,276
|
I find it odd that you used sand as a base under the the soil. If you wanted the height a bit higher, you could've used organic soil. Those used in gardens are perfectly fine and there are many benefits of using it as an "undercoat" but you must make sure they contain to fertilizers and are purely organic lest you get a lot of dead fishes!
And also, might i suggest next time you put in some soil around the 4 edges of the tank first, then put the sand in the center then cover everything up with the remaining soil so you won't get the weird edges in the front of the tank where you can see both the soil and the sand beneath it. This is a planted tank afterall so you'll want it as beautiful as possible. It's a really beautiful tank and the set up is lovely although i'm with you on the height of the stand. That must be the Michael Jordan of all stands! Would love to see more updates on a fully grown and flourishing tank! Here's what i was talking about regarding the edges. Look at step 6. This link is for using mineralized soil whereas what i was talking about is just purely organic potting soil as an "undercoat", two different things. Courtesy of aquaticplantcentral.com http://www.aquaticplantcentral.com/f...on-talbot.html |
|
|
|
 |
|
| Currently Active Users Viewing This Thread: 1 (0 members and 1 guests) | |
|
|


 Linear Mode

